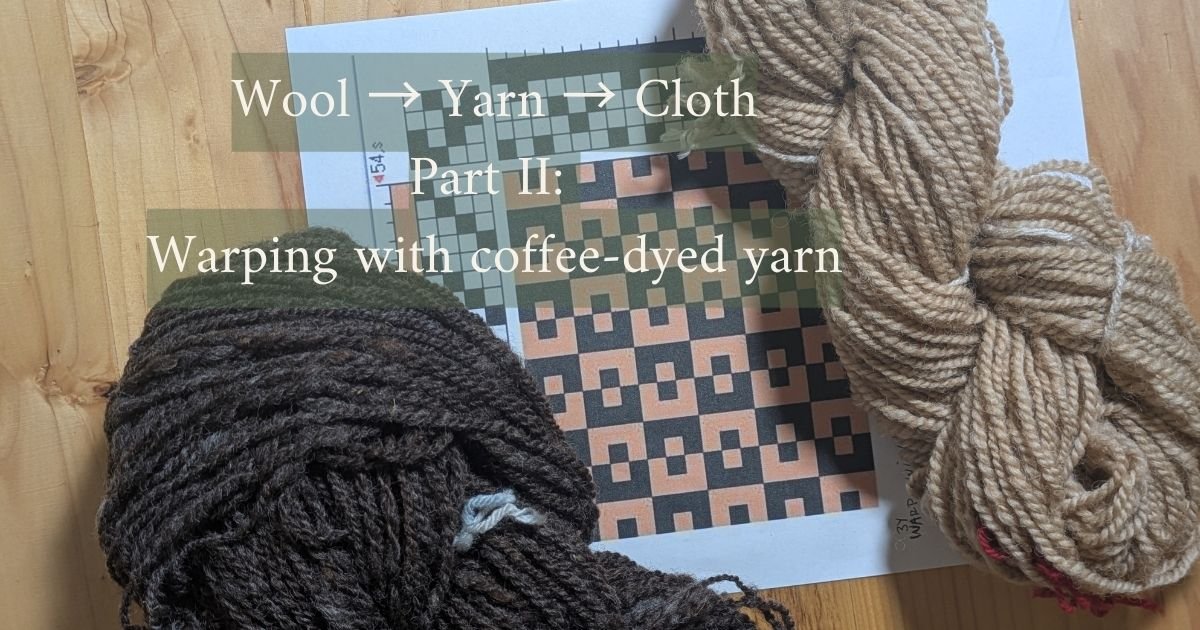
Wool → Yarn → Cloth
Series Part II-Warping with coffee-dyed yarn
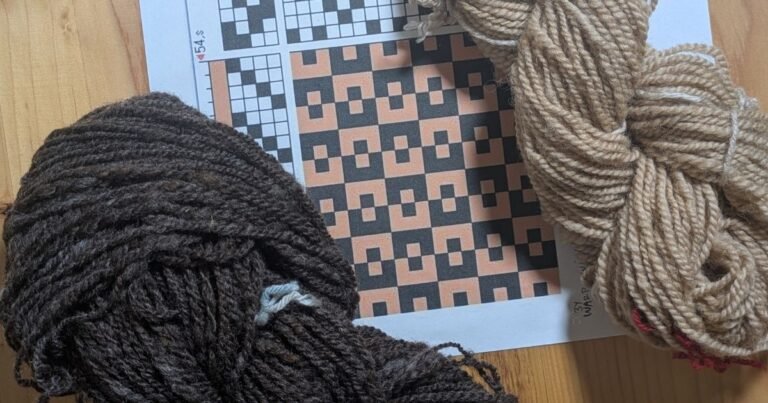
For this project, I dyed some handspun white wool with coffee as a background/ contrast color for the warp.
The coffee creates a warm, soft brown — lighter than the naturally colored wool, but still earthy and varied. I thought it made it a good choice for supporting the darker yarn spun from our naturally colored sheep that I wanted to use for the weft color.
Because I was aiming for a subtle, leopard-print-inspired effect, contrast was important, and I thought the coffee-dyed yarn would give light and warmth, while the dark wool brought depth and weight to the pattern.
Warp planning + basic calculations
I planned this as a medium-width fabric with enough length to do some sampling at the end. I have been wanting to make myself a winter coat with my handwoven fabric for a few years, and hoped this fabric might be just right for that purpose.
Here’s what I aimed for:
Warp length: ~6 yards
Finished width goal: ~36 inches
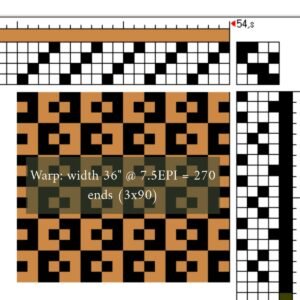
Sett: 7.5 ends per inch (EPI)
At 36″ wide × 7.5 EPI, that put me at approximately 272 warp ends total.
This sett felt like a good match for the yarn weight (my handspun version of worsted weight). I wanted it to be open enough to allow texture and movement, but structured enough to support contrast between the light and dark fibers.
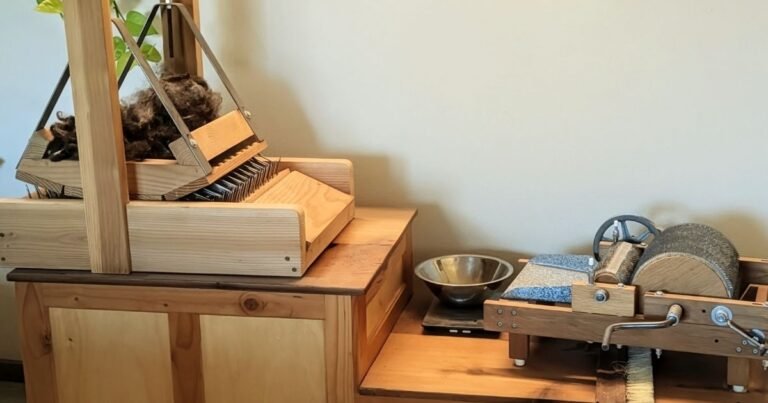
Warping on the board (working with limitations)
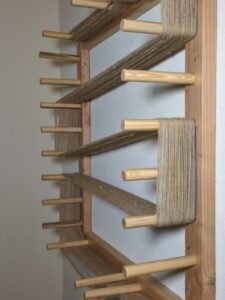
My warping board isn’t wide enough to hold that many ends in a single chain, so I divided the warp as evenly as possible into three separate warp chains.
Each chain used a little over four skeins of handspun yarn, roughly 110 yards per skein. Breaking the warp up this way made it manageable and helped keep tension more consistent across the full width.
I warped on the board pulling four ends at a time, which speeds things up and is easy to do with a solid color warp. Counting at the cross was a breeze this way, and made me want to warp with 4 ends all the time!
Managing dye variation in handspun yarn
Because the coffee-dyed yarn had some natural variation from skein to skein, I paid close attention to how it was distributed across the warp.
Because I was warping with 4 skeins at a time, I mixed skeins within each chain and tried to spread lighter and darker areas evenly. The goal was to avoid visible striping and let the variation read as overall texture instead.
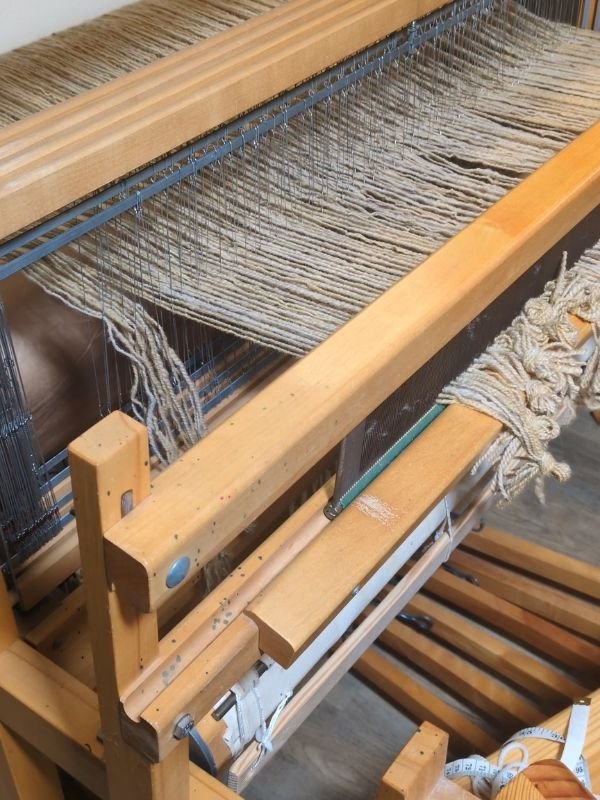
Warping back to front (my setup)
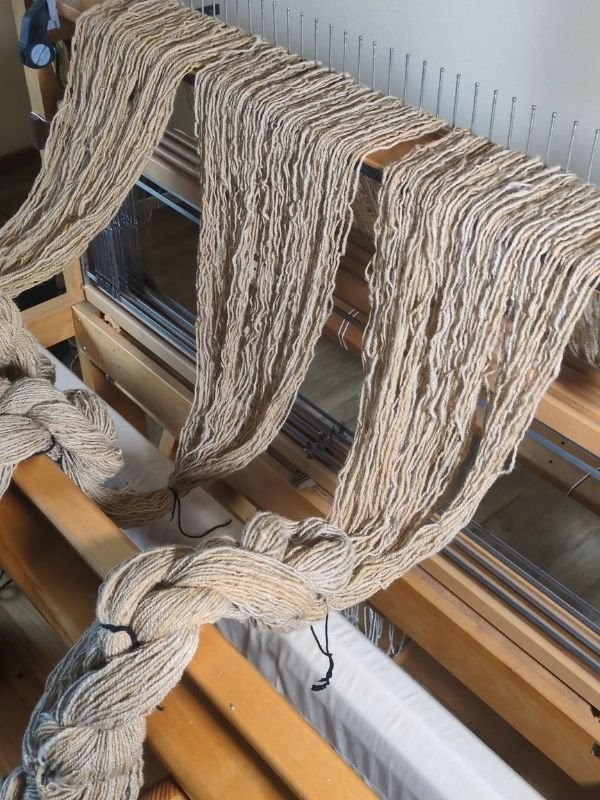 warp chains on the loom
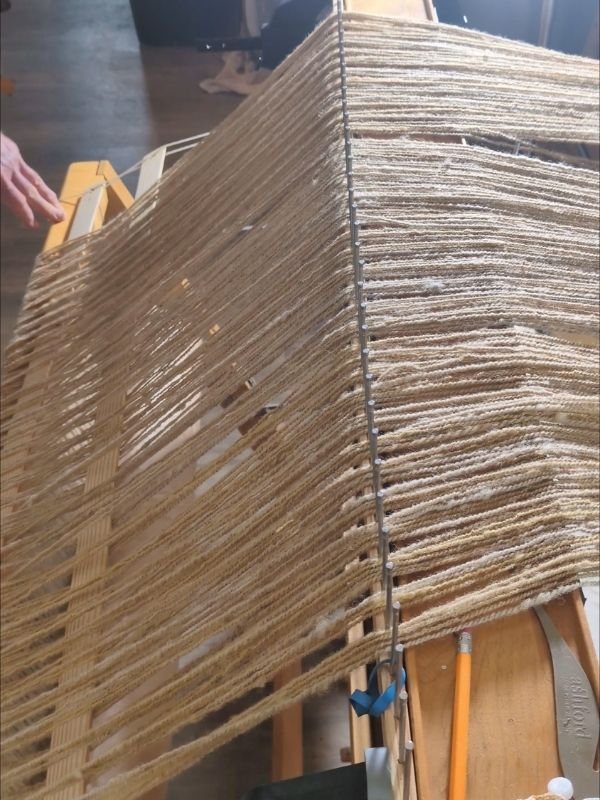 warp over the rattle
I warp back to front, which works well for me- and if it’s not broke, why fix it. 😉
Once the warp chains were measured and chained, I wound them onto the back beam, using the raddle on the castle to spread the threads out to the correct width. This step sets the foundation for everything that comes next — if the warp is evenly distributed here, the rest of the process goes much more smoothly.
After the warp was fully beamed with even tension, I moved on to threading.
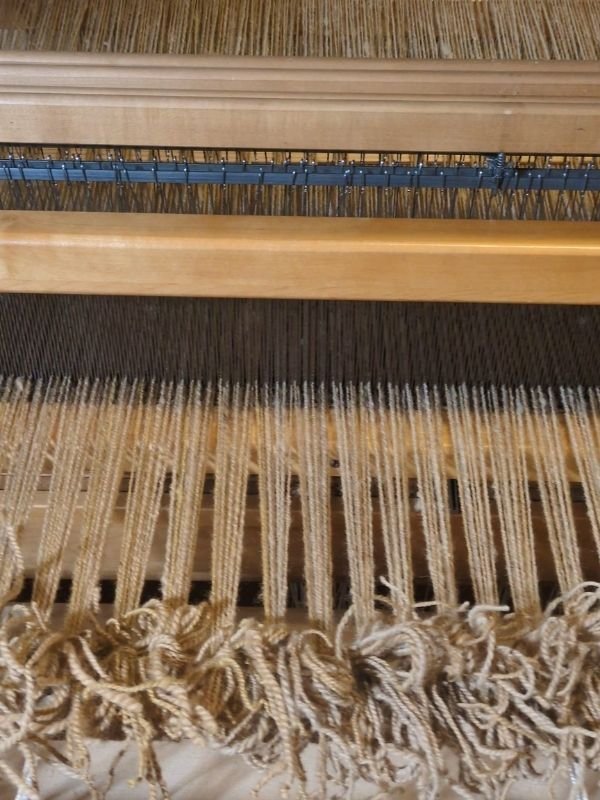
Threading the heddles and reed
I threaded the heddles first, following the straight draw from the draft (4–3–2–1), and then sleyed the reed.
I only have a 10-dent reed, but I wanted a sett of 7.5 ends per inch, so I adjusted the threading instead of the equipment. To get there, I sleyed the reed in a 0–1–1–1 pattern, which averages out to the sett I was aiming for.
Tying on and tensioning the warp
Once everything was threaded, I tied onto the cloth beam and took time to even out the tension across the warp.
With handspun yarn, this step is especially important. I’m not aiming for machine-level uniformity, but I do want the warp to feel balanced and responsive before I start weaving. Not too tight, not too loose.
Once the tension felt right, the loom was finally ready. The part when you finally get to start weaving always feels like Christmas morning- a present that’s finally ready to unwrap.
🌿 What’s Next in the Series
Wool → Yarn → Cloth, Part 3:
Weaving the Cloth: Watching the Pattern Emerge
In the next post, I’ll start weaving, and we’ll see how this combination of coffee-dyed yarn and naturally dark wool actually looks and behaves as cloth. This is the moment where the idea either comes together… or changes course.
Either way, it’s where things get interesting!
Don’t Miss Out
Don’t miss updates from the farm — from fiber and flowers to our furry friends, there’s always something growing, spinning, or being made around here.
If you’d like to follow along, join the PetalWorks newsletter below.